Mobile Security Introduction
After quite a while, I finally decided to upload this article. If you come across any inconsistencies, I am always open to feedback. I will continuously update it, aiming to create a comprehensive “Mobile Security Introduction Garden”. Have fun reading! :)
The world of mobile application security requires to have different skills and knowledge compared to web application testing because we are also dealing with a client installed on our device that handles user input, and often communicates with a backend server. Apart from API testing knowledge, we also need a special setup, a real or emulated device, some ways to view the application code and to interact dynamically with the app while running. There are two main OS in the world of mobile security: Android and iOS. For now, we won’t explain the architecture in this article. When we are dealing with the same app built for these two OS, we will notice some similarities (backend communication), and some differences (client analysis).
In this guide I will include what we need to setup our environment in the easiest way I found out (after some tries), and how we can start testing our beloved apps.
Setup
The first step requires us to set up our devices (real or emulated). I often use rooted devices because with jailed device we are not able to do every test freely. For example, using frida requires less effort when using rooted devices, but it is also possible to do it the other way (if you are interested, just let me know and I will write something in the future).
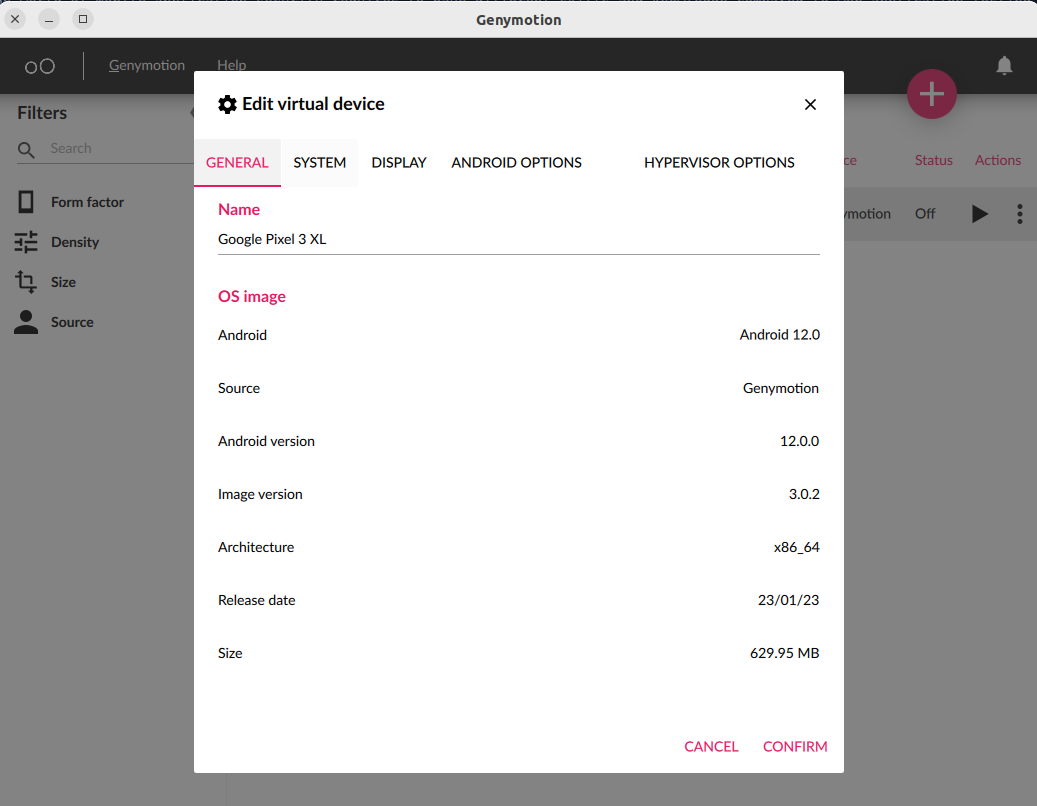
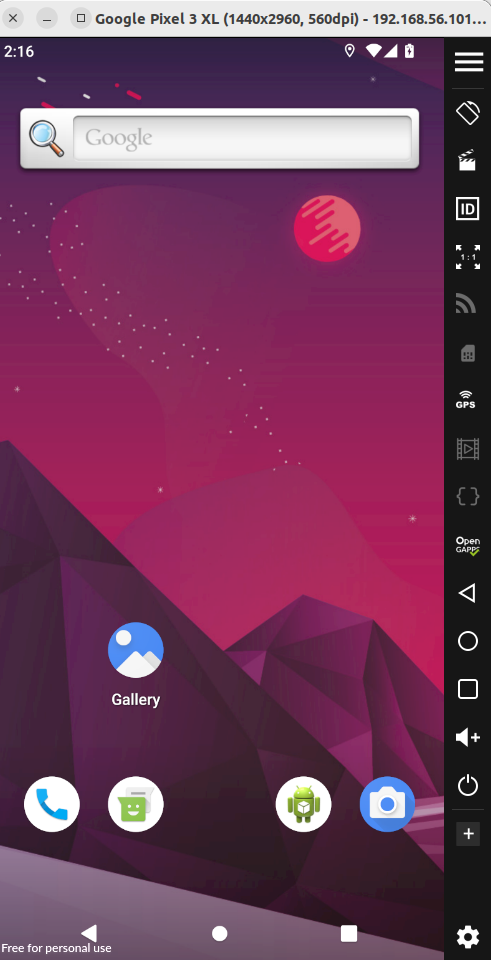
If we do not have a real device, we can solve this problem in Android using an emulated one. I found that Genymotion offers a free for personal use license. We can download the software, install it, register an account and we are good to go. I suggest creating a device with fairly new Android version and API, so we will be able to install almost every app. Moreover, we should give the VM at least 4GB of RAM. Finally, we need Virtual Box to run our devices (Genymotion uses it to handle the VM).
For iOS, I unfortunately don’t know about an alternative to a physical device. We can connect to our iOS device using ssh root@IP, with the default password alpine.
After turning on our Android virtual device, or connecting our real device via USB (we also need to enable the developer options and USB debugging inside the settings), we access its filesystem using adb shell. If we are running a device in production (a real device), we are not able to use adb root, so we need to su inside the shell, or push files in temporary folders before moving them into root folders.
Installing Burp certificates
We need to set up a proxy between our device and the internet to be able to intercept all the traffic. (Almost) Every application that communicates with a backend server, uses TLS. We cannot just rely on the system proxy, but also need to install our proxy certificate inside the device so that it will be able to trust the proxy, enstablish the communication and send data. I am using Burp Suite, so I will show the process using this proxy, but the process should be similar for the others.
The filesystem may be in read-only mode: we can remount it in read and write using the following command:
adb shell
(adb) su
(adb) mount -o remount,rw /
We can download burp certificate in our laptop, convert it to PEM format and push in the device. The steps required are listed below. We use openssl to convert the certificate, and we retrieve the hash of the first line (for more details, see here)
curl localhost:8080/cert -o cert.der
openssl x509 -inform der -in cert.der -out burp.pem
openssl x509 -inform pem -subject_hash_old -in burp.pem
# use first line hash as the name of the file
mv burp.pem 9a5ba575.0
adb push 9a5ba575.0 /data/local/tmp/
adb shell
(adb) su
(adb) mv /data/local/tmp/9a5ba575.0 /system/etc/security/cacerts/
The final step is to enable the proxy: I suggest using ProxyDroid[2], an application that requires root privileges but set up a proxy using iptables, a better approach because some app frameworks are proxy unaware and completely ignore the proxy settings in the Wifi network.
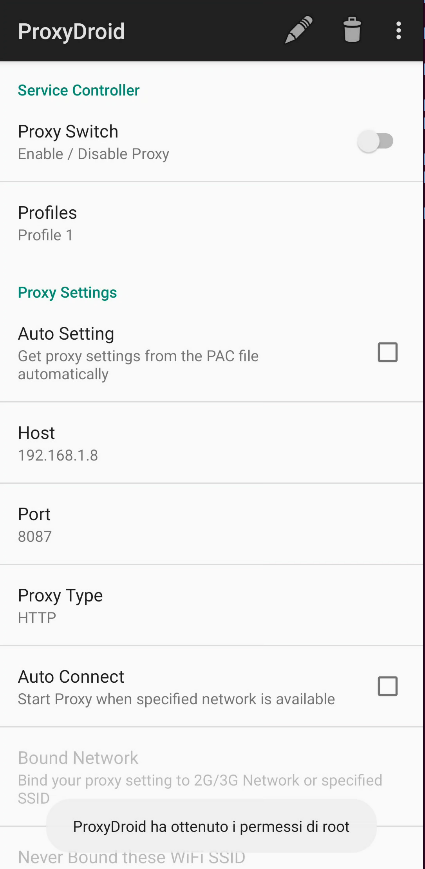
We can set up our proxy by going over our Wifi network settings and, depending on the OS version, we should be able to enable our Manual proxy, using a port number of our choice.
A faster way to do it is to use adb to set or unset the proxy
# set proxy on port 8087
adb shell settings put global http_proxy <YOUR_LAPTOP_IP>:8087
# unset proxy
adb shell settings put global http_proxy :0
For iOS, we can use the device, go over http://burp, download the Burp certificate and then install it by going over Settings -> Wifi -> Info button on our network -> HTTP Proxy -> Manual -> PC IP address and Burp suite listening port -> Save. Download the certificate and the system will suggest going to Settings again to install it (check Setting notifications, it should be there). Finally, we should head over Settings -> General -> About -> Certificate Trust Settings and enable Portswigger.
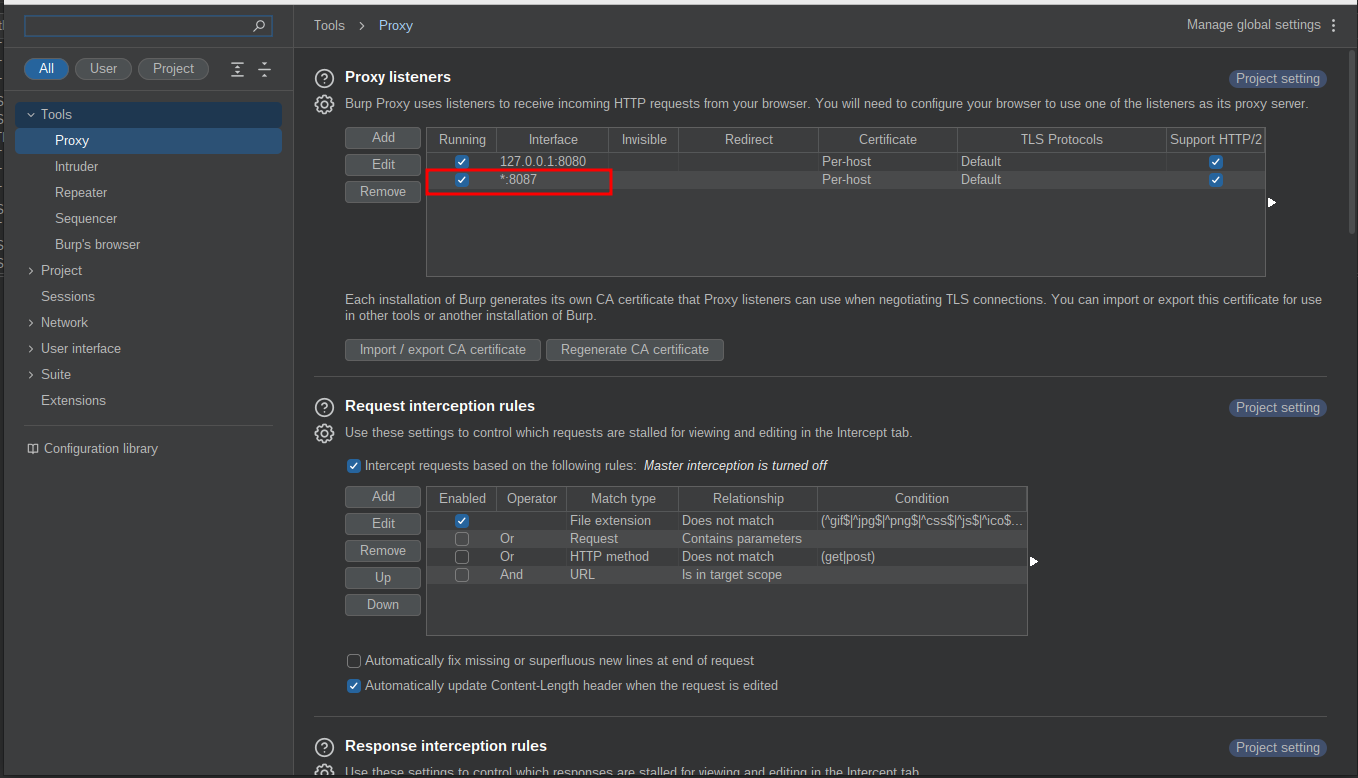
On BurpSuite, we need to create a listener on all the interfaces, with the port number selected.
Now, we should be able to intercept HTTPS traffic if the applications do not implement SSL Pinning techniques. If the applications implement those checks, we can use some standard Frida scripts: these scripts are usually found online, for most of the standard techniques. If the developers implement some custom checks, we need to reverse the code and find which methods are used.
Installing applications
Applications are usually shared as compressed packages that we can install using adb (Android) or ideviceinstaller[3] (iOS). Sometimes, we need to install them from the official store (remember to disable HTTP Proxy), or test stores (Testflight application for iOS).
- Android:
adb install <app.apk> - iOS:
ideviceinstaller -i <app.ipa>
Frida setup
We usually need to use Frida for different purposes: bypass SSL pinning and root checks, or hook encryption functions, to name a few. iOS devices needs a different setup that we will try to explain in future updates of this article.
For Android devices, we need to set up our server manually: it is not difficult, and it is a gentle introduction to adb. The necessary steps are:
- download the latest Frida release from https://github.com/frida/frida/releases. The latest version should be fine, but some phones do complain about it. Try older versions, if necessary
- extract the executable with
unxz frida-server.xz - copy the executable inside the device (Android smartphone must have USB debugging active and adb running):
adb push frida-server/data/local/tmp - if the device allows it, try to restart
adbin root mode (adb root). If it is not possible, connect to the shell (adb shell) and elevate the privileges withsu - set correct file permissions:
chmod 755 /data/local/tmp/frida-server - start the server:
/data/local/tmp/frida-server & - now the server is running, you can go back to your host device and start hacking with frida scripts:)
We are ready to use frida on our devices! Remember that, if the device is turned off, we need to start the server again (steps 4. and 6.).
We can start our frida journey by analyzing some useful commands that we need to spawn (launch the application) or attach (the application is already running) to a mobile application:
frida-ps -Uai: list installed application names and packagesfrida -U -F -l <script.js>: attach to the foreground applicationfrida -U -f <package_name> -l <script.js>: spawn desired application by package namefrida -U <app name>(or <PID>) -l <script.js>: attach to application name
Objection setup
Another interesting tool is objection, a frida wrapper written in python that automates some boring tasks. It is not perfect and it is not being updated regularly, but it is sometimes useful for some basic tests. You can install it using pip. Here is a list of useful commands:
objection -g <package name> explore: spawn desired application by package nameobjection -g <pid> explore: attach to the desired application by pidobjection -g <app name> explore: attach to the desired application by app name
Another interesting feature that objection offers is the ability to watch a Java Class or a Java Class Method, by knowing the full package. We can retrieve the full package path by navigating the decompiled source in jadx (see Static Analysis section). After retrieving the package, we can monitor a specific class when a new instance is created, or when a method is called, what arguments are passed and what is the return value. After spawning the process (or attaching to it), an interactive console allows us to input these commands (objection offers an autocomplete feature that helps us explore all the commands).
android hooking watch class <package path>.<class name>: watch the full class and its methods.android hooking watch class_method <package path>.<class name>.<method> --dump-args --dump-return --dump-backtrace: watch a specific method, logging when it is called--dump-args: print the argument passed to a specific method--dump-return: print the return value (based on the toString method implementation)--dump-backtrace: print the complete stack trace that caused the specific method to be called
If we have to hook a specific class or class_method right after the application is spawned, we can use -s flag after explore and issue the objection command we want to execute.
Static Analysis
Frida and Objection helps us instrumenting the applications and dinamically modify their flow, tamper with the arguments and return values, and watch the execution. Unfortunately, we cannot do much without knowing a bit about how the application is built, what are the activities, services, and libraries used. In mobile application assessment, the analysis of web requests is a small part of the job: we need to improve our reversing and static analysis skill to be able to understand how the client side works, if the application stores sensistive data inside the code, use unsafe methods, etc.
This section is mainly focused on Android because it is easier to obtained readable decompiled code with Java or Kotlin, rather than iOS application. For iOS application, the best solution is to use Ghidra (or IDA, if you have access to a paid licence). We just need to unzip our .ipa package, find the binary file (which is called as the app), and import it. We can use this method to search for interesting strings inside.
For Android application, we can use jadx[5] to decompile the Java classes and resources. Jadx offers a command line tool, but I personally think that jadx-gui is easier to grasp as a beginner because it offers a great search tool, and some other interesting features that we will see in this guide.
On Linux, we can download the zip file, go to the bin directory, and run jadx-gui. We can then open an .apk file: the program will start to decompile it, and the result will be shown as a file tree in the left side of the window. Here, we can start navigating the different activities and classes, find the package paths, understand what external libraries are used, etc.
We can now open a file containing Java code and use some powerful keybindings. Go to a method declaration and click:
x: go to usage. Search where the method is used.f: copy as Frida snippet. Copy a Frida hook that can be used to start scripting the easily. It automatically finds the full class name, overloads the method, prints the arguments and return value.
References
- [1] ippsec recently made a complete video about a basic setup in Android
- [2] ProxyDroid, Proxy management app
- [3] ideviceinstaller, tool to install iOS .ipa in jailbroken devices
- [4] frida.re, dynamic instrumentation toolkit for developers
- [5] jadx, APK decompiler